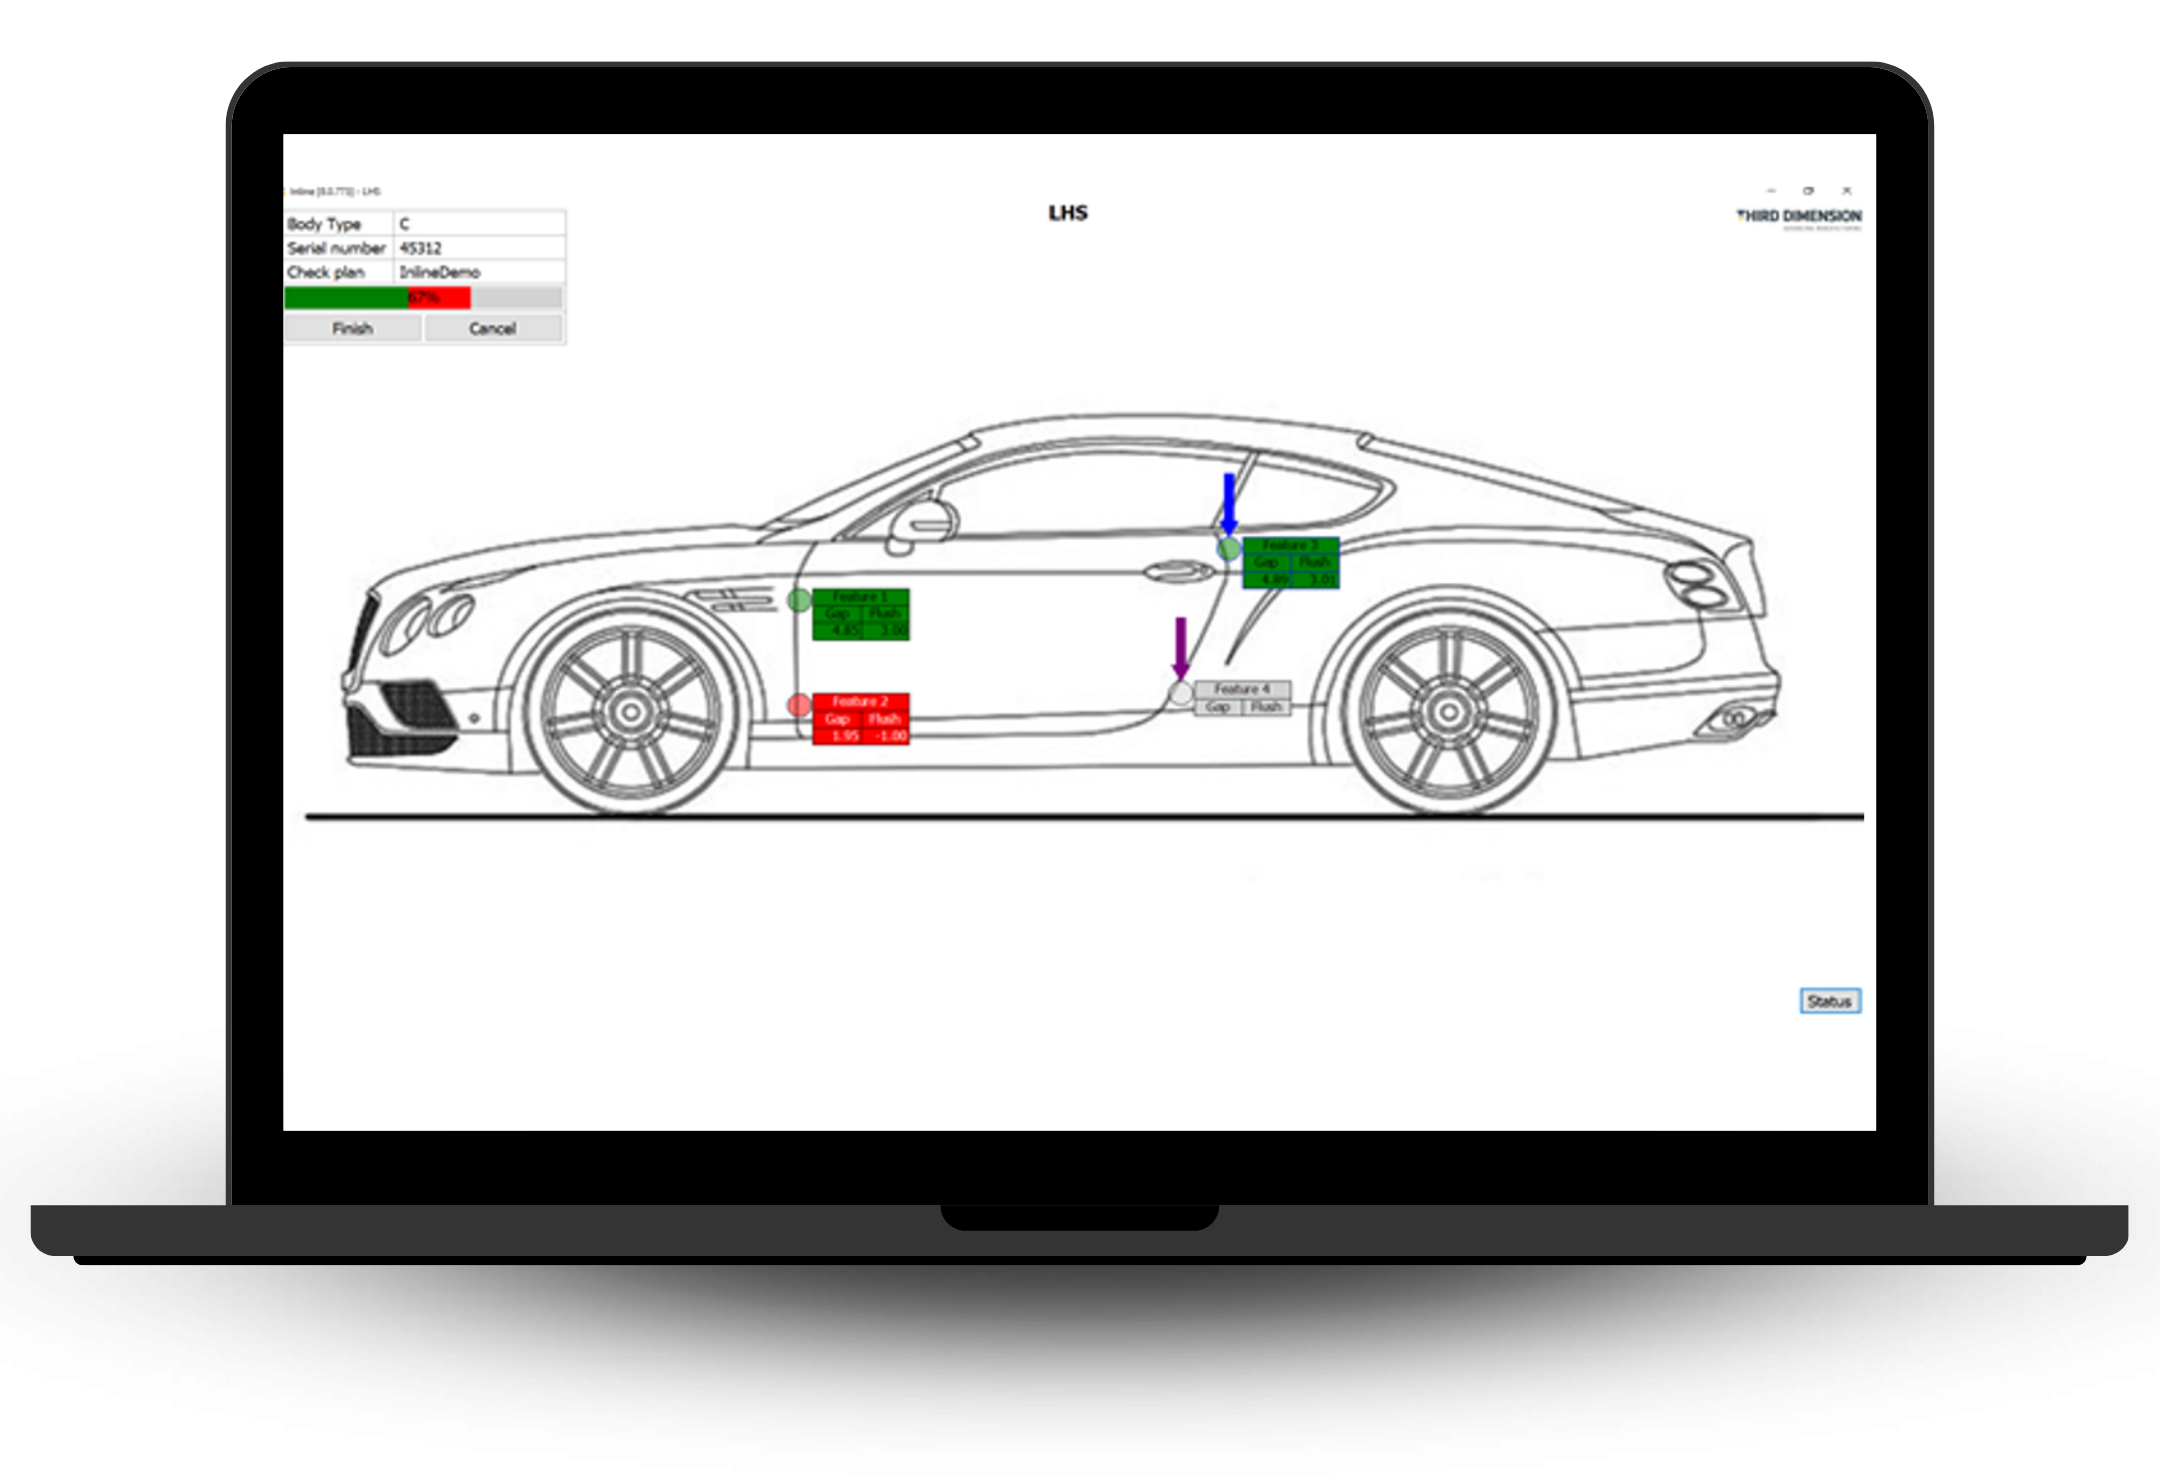
Designed specifically for the inline automotive environment, ‘Inline’ can speed up your quality control processes by:

Inline integrates multiple GapGun® units with your existing systems, so live data can be transmitted from the factory floor to the metrology lab for immediate analysis.
System alerts notify Quality Assurance managers of measurements out of tolerance, whilst large screen measurement visualisation can support the operator in working quickly and efficiently.
Automatic check plan selection can be activated with Inline, as either a serial number, SOAP message or barcode scanner, removing the manual task of an operator. Measurements can be carried out by more than one operator reducing the time to complete one check plan.
Operators can refer to both the instructional graphic on their GapGun® for a focused understanding of the feature being measured, and the screen for an overview.
Using Inline, measurements will automatically be transmitted to your database, so time is furthermore saved, as operators do not need to do this manual upload.

Automate checkplan selection

Link up to 4 GapGuns together to
work simultaneously on one plan

View measurement results in real
time on multiple on-screen displays

Automate data reporting and exporting
| TECHNICAL SPECIFICATION | |
|---|---|
| Multi-screen support | Up to four monitoring screens and one status screen. |
| Part identification | User input; SOAP. |
| Serial number source | User input; SOAP. |
| Check plan selection | Rule based: user entry. |
| Data output | Customisable templated output. |
| Data collection | Up to 2 GapGuns concurrently. |
| Compatible data collectors | GapGun® 6, GapGun® Pro2, Vectro®2 |
| Compatible software | System software 8.1 |
| Compatible sensors | T-series |
| Supported OS | Windows 10, Windows 11 |
Our experienced team of Application Engineers can help you prepare detailed checkplans to meet your bespoke needs.
