BODY IN WHITE
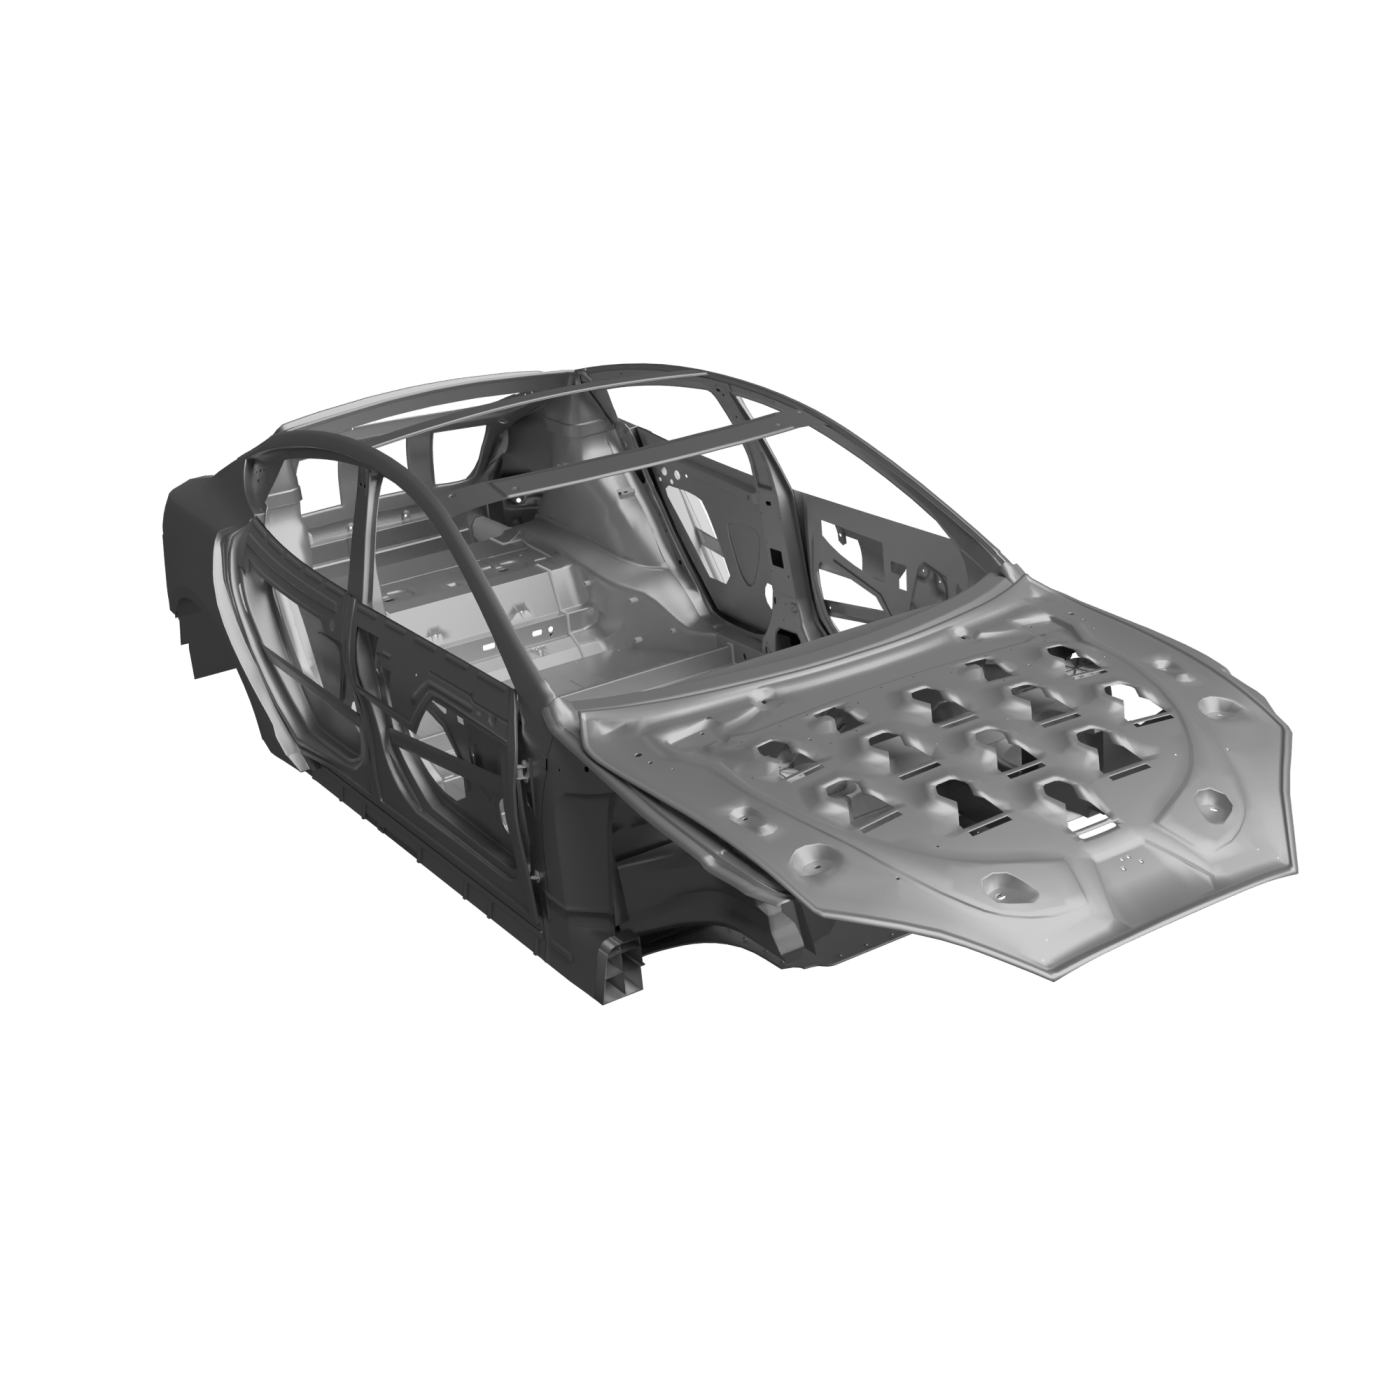
Body in White (BiW) is a critical phase in automotive manufacturing where the car’s skeletal structure is assembled. As any slight deviation or error can result in costly rework, therefore it’s crucial to ensure that every component is assembled correctly. The GapGun® – a high-precision laser measuring device – is being used by customers across the globe to streamline the BiW inspection process, reduce costs, and improve the general efficiency of quality control.
Click on one the yellow icons on the image to the right, to see where the GapGun® is being used for BiW inspection…
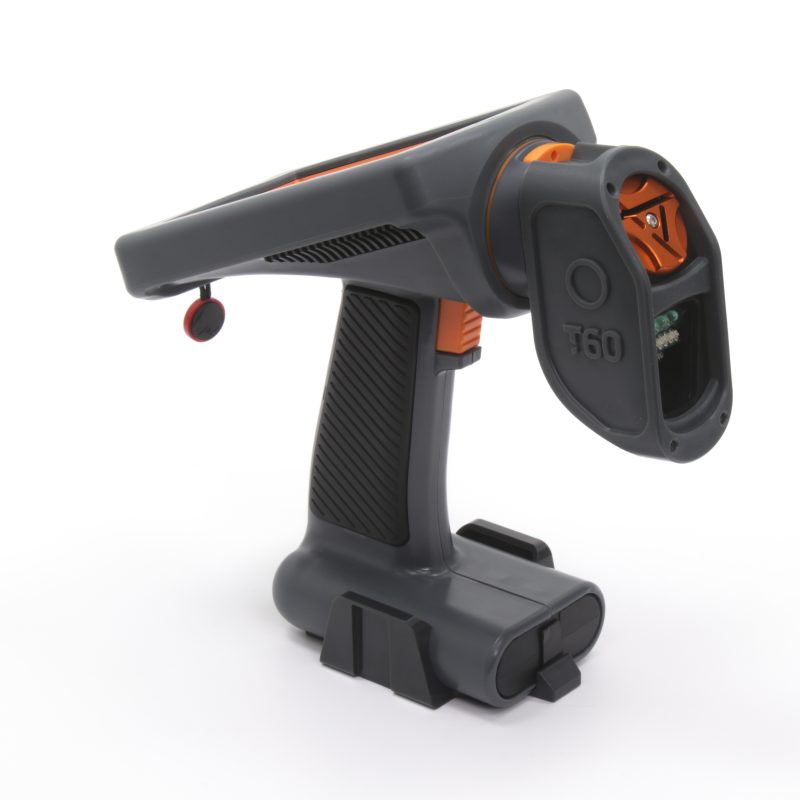
Automotive closures are a complex area of engineering, with tight geometries to ensure that performance remains consistent over what can be a very demanding product life. As well as external gaps (for which the GapGun® is used to measure extensively), it is also used to measure the internal closure gap dimensions where the door seals will ultimately be fitted.
GapGun® offers the capability to measure both external body gaps and inside (seal) gaps with just one instrument – the GapGun® is equipped with a variety of accessories making it a highly versatile tool.

If welds are not measured accurately during BiW inspection, it can lead to a range of problems. For example, improperly formed or weak welds can compromise the structural integrity of the vehicle, leading to potential safety hazards during use. Welds tend to be challenging to measure, since they can vary significantly in terms of geometry, and can also be difficult to access easily.
The GapGun® is an ideal tool for measuring welds – all manner of complex geometries are possible to measure using the GapGun® thanks to the abundant tool configuration options available. Furthermore, using the GapGun® extension accessory, tricky locations can be easily accessed.

Characterising surface imperfections during the BiW stage is important because they can impact the performance, durability and perceived quality of the vehicle during its lifetime. One of the main challenges during inspection is that surface imperfections can be small and subtle, making them difficult to accurately quantify. Traditional manual inspections can be time-consuming and error-prone as a result, leading to inconsistencies in measurement data.
The GapGun® can accurately measure even the smallest imperfections/defects. It can take measurements in a mater of seconds, and the intuitive nature of the tool means operators can achieve repeatable, reliable readings with minimal training.
AUTOMOTIVE EXTERIOR
GapGun® is a cutting-edge measurement device that has revolutionized the automotive industry by providing precise and efficient measurements of critical components in automotive exteriors.
The GapGun® is compatible with all manner of material finishes, including opaque and translucent plastics, metal, glass, rubbers, fabrics, paints and more. From doors to hoods to bumpers, GapGun® offers a quick and accurate way to verify proper fit and finish of automotive parts…
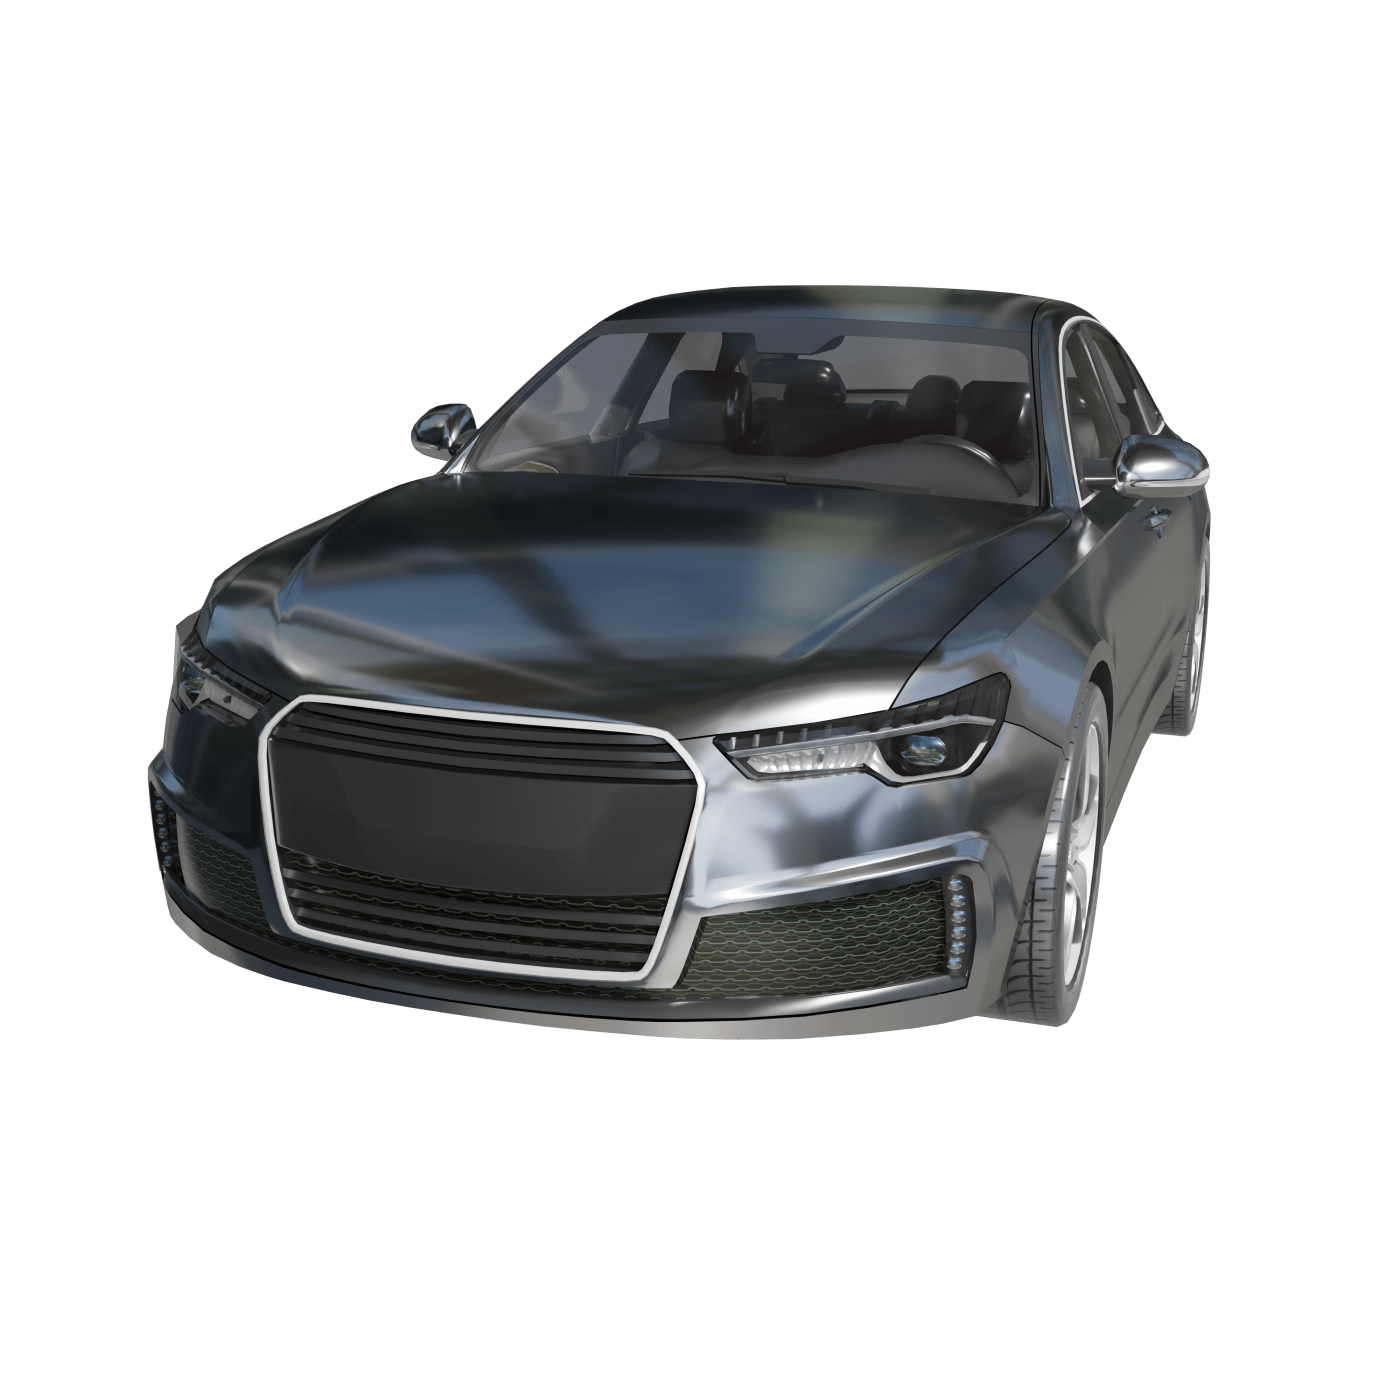

Measuring the gap & flush of car headlights/taillights has traditionally been a challenge, often due to the presence of shiny materials and/or complex shapes and contours.
The T-series sensor heads are ideal for headlight/taillight applications. There are extensive software options available for the GapGun® – the user can apply completely unique settings for their application, meaning all manner of complex geometries can be addressed.

Car door inspection normally involves a high volume of Gap & Flush measurements. Customers require tools that are ergonomic and fast to keep operations running efficiently.
The GapGun® is consistently regarded as the most ergonomic tool of its kind on the market, where accurate results can be acquired in a matter of seconds.

Grills and bonnets can vary significantly between makes/models of cars, so it is critical to use a tool that can adapt to these variable geometries. The GapGun® is an ideal solution due to the extensive customization options available.

Sunroofs can be a challenge to measure effectively, often due to the presence of reflective materials, and/or restricted accessibility, where operators may struggle to get the correct alignment.
The GapGun® is equipped with various accessories/features which can assist with access/challenging surfaces, such as the adjustable V change 2 (sensor orientation) mechanism and extension cable.
AUTOMOTIVE INTERIOR
Automotive interiors are a major area of engineering with complex and unique manufacturing challenges. Poor fit and finish can lead to squeaks, rattles and can impact perceived quality, which can lead to time consuming rework and expensive warranty repairs.
Therefore, manufacturers carry out extensive checks of fit and finish on interior components and dashboard surfaces of cars, all of which present significant challenges for inspection. A critical, yet incredibly complex area of inspection, many Automotive OEMs and Tier 1 component suppliers have turned to the GapGun® for their quality checks…
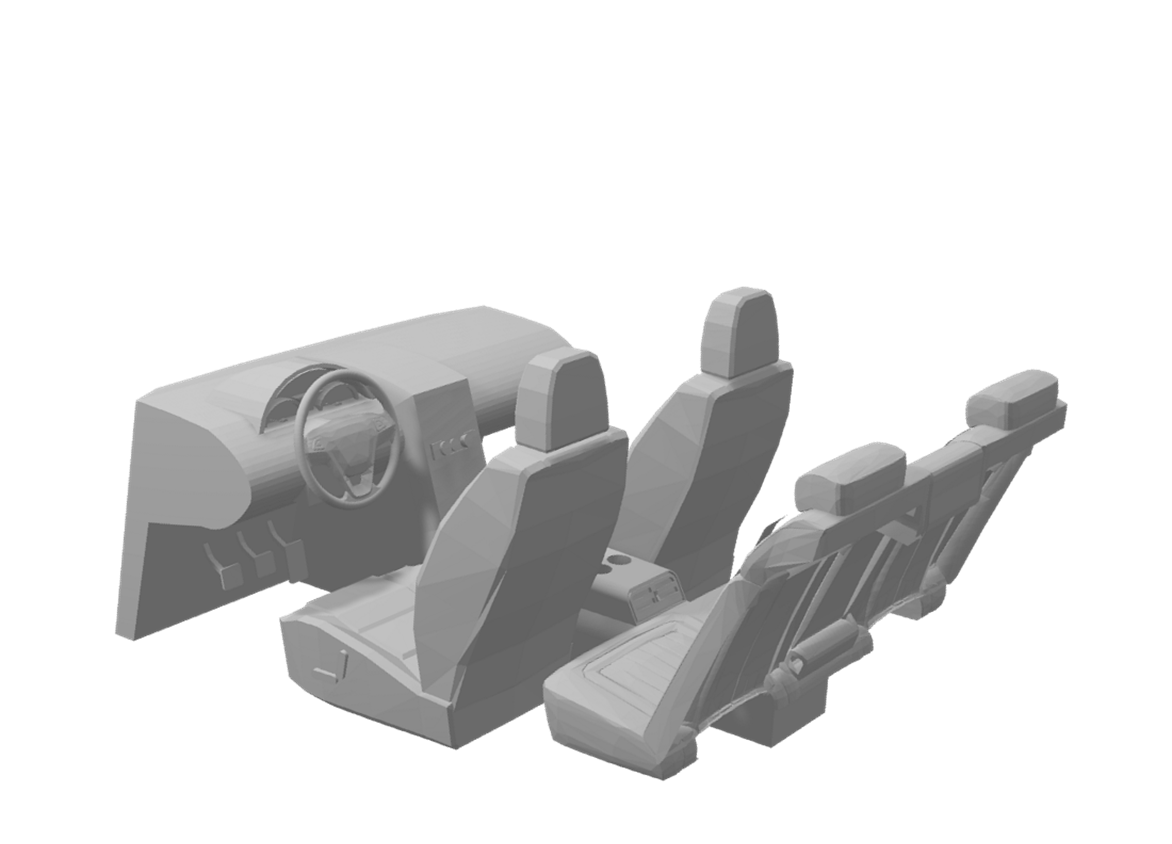

Quality inspection of steering wheels is becoming increasingly stringent. Drivers spend the majority of the time in their car behind the steering wheel, therefore consistent gap quality is important from an aesthetic perspective. Furthermore, most modern steering wheels are equipped with numerous buttons, so dimensions need to be controlled to ensure everything is positioned correctly.
The GapGun® has been used extensively by Tier 1 suppliers/Automotive OEMs to accurately and efficiently characterise features such as wheel emblem gaps, horn clearance and buttons.

For automotive manufacturers, ensuring the airbag split line dimensions are quality checked is a safety critical aspect of production. The airbag split line causes the airbag module, for example in the steering wheel or dashboard, to split out and deploy in the event of a road traffic accident. The depth and width of the split line dictate how well the mechanism works therefore it is essential it is properly characterised.
GapGun® can quickly and accurately check the integrity of this split line for optimum depth and width of the profile to ensure this safety critical feature doesn’t fail.

“Our previous manual process took two-and-a-half hours, the GapGun measures in just 20 minutes.
Does the same job”


