Measuring automotive interiors is a major area of engineering with complex and unique manufacturing challenges
Here at Third Dimension, we’ve been in the metrology industry for over 25 years, working with and producing measurement equipment for use all over the world. For most of that time we’ve been working with automotive companies, who face numerous quality control challenges to provide the best possible models for consumers. Automotive interiors can present challenges as they are functional and highly visual to the customer. Before looking at how to measure complex automotive interiors and what tools to use, let’s review some of the key reasons why checking them is so important.
QUALITY CONTROL CHALLENGES
Poor fit and finish can cause squeaks and rattles, leading to time consuming rework and expensive warranty repairs. Therefore, manufacturers need to carry out checks of fit and finish on interior and dashboard surfaces of cars. These can present significant challenges in inspection, measurement and overall quality control.
Modern materials and styling, such as chrome trim, multi-material designs and highly contoured or complex organic geometries require advanced manufacturing – and advanced inspection techniques to deliver the designers dreams.
For example, gaps between components may be extremely small and measurement areas may be close together, requiring inspection technology that can handle these challenges. Another example is soft or floating components such as roof lining or glove boxes, where any contact while measuring will immediately compromise the data collected.

HOW AUTOMOTIVE MANUFACTURERS ARE MASTERING THE COMPLEX INTERIOR MEASUREMENTS
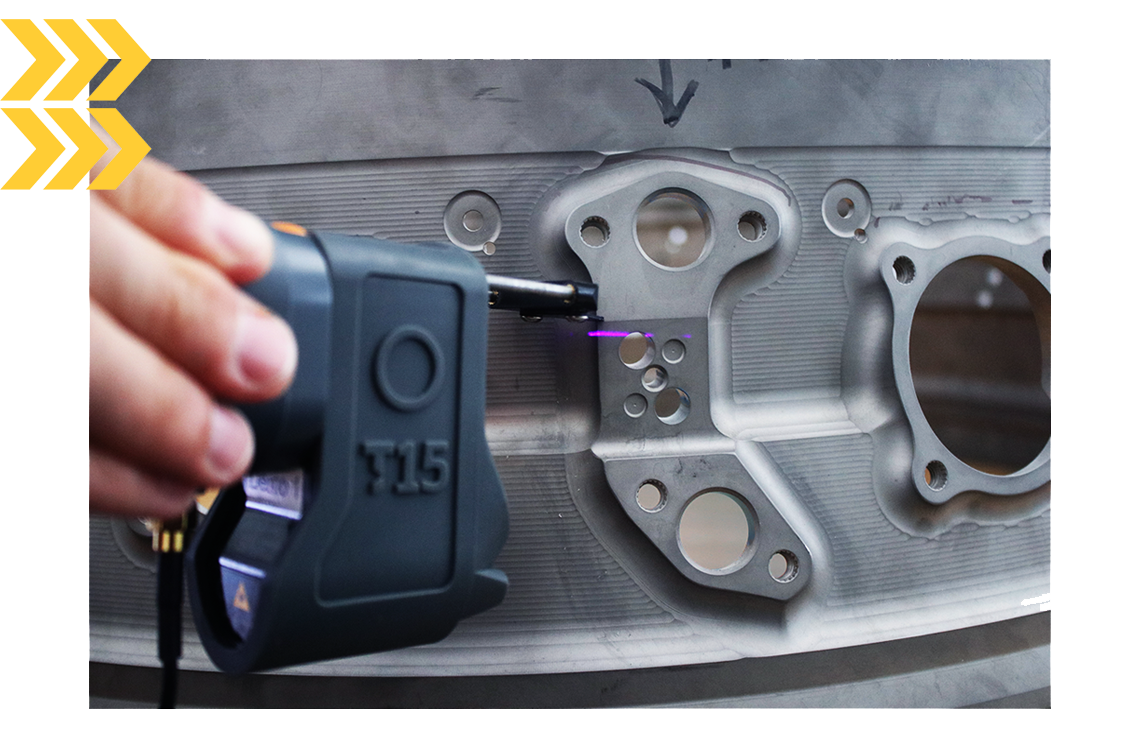
One way in which automotive manufacturers are addressing this critical area of inspection is turning to non-contact, laser precision measurement. The GapGun from Third Dimension is a precision non-contact feature measurement tool ideally suited to the task. With many years of experience Third Dimension is well positioned to assist customers with their unique measurement challenges. Furthermore, the GapGun has a number of innovative features that make measuring automotive interiors quick, easy and repeatable.
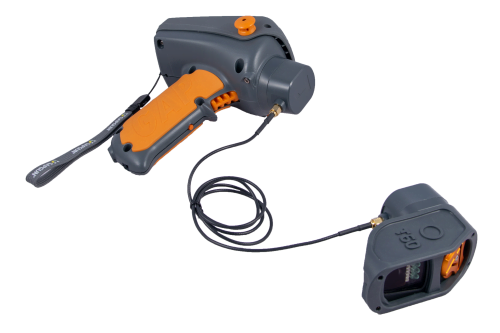
Third Dimension engineer Callum explains that “cars are constantly evolving and therefore so too are the challenges that come with getting accurate measurements. Overcoming these and offering solutions is always rewarding – for example producing an extension cable for the GapGun Pro2 which makes it easier to access hard to reach places within automotive interiors has proven to be extremely helpful”.

THE GAPGUN RANGE– WHAT ARE THE KEY ADVANTAGES?
Quick and adaptable
The GapGun’s built in patented laser line splitter means very small gaps such as button arrays can be measured, even where there may be a number of similar geometries in one location. In addition, the GapGun’s SPC3d laser metrology software even allows measurement of highly unusual freeform surfaces, with measurements processed on the spot.
Unbeatable surface measurement capability
Using the GapGun’s industry leading sensors, the system automatically and dynamically responds to colour and surface conditions each time a measurement is taken, with no need for interaction from the operator. Consequently, even gloss black, carbon fibre, reflective and high contrast surfaces are measurable.
No surface damage
With the ability to operate as a completely non-contact device, nothing need ever touch the surface of parts during the measurement. This ensures measurement confidence and component integrity without worrying about repeatability or surface damage. GapGun provides a solution to measuring soft, unfixed and delicate parts, eliminating surface deflection on soft or moveable parts such as headliner or glove box. Alternatively, for easier positioning, GapGun can also be used in contact with no scratch stand offs.
Completely portable
The GapGun’s lightweight and rugged design can be used completely autonomously using its clip-on battery pack for operation up to 8 hours on a single charge. With no cables, waist pack or bulky processing units, operators have the flexibility to easily access interior measurements or reach high on 4×4 vehicles. With storage capacity for thousands of measurements, the GapGun is designed to be used on the shop floor for extended periods without need for any additional hardware.
Instant results display
GapGun takes a measurement in a matter of seconds with results appearing on screen for operator benefit (including colour coding to indicate tolerance conditions), as well as being available in a multitude of formats for data handling. Live data feed indicates corrective action, should a measurement fall out of tolerance.
To find out more about metrology and how Third Dimension’s non-contact, precision profile measurement solutions can benefit your business, email us here or take a look around our website.


